VIP Car tutorial : Aoshima Admiration Toyota Celsior 1/24. | Model Kit Index
This tutorial is for a Toyota Celsior VIP car, in this case, the Aoshima Admiration Celsior. In every case, comments refer to the photo directly above the comments. I've tried as much detail as possible within both the photos and descriptions, so if you're reading something you already know, just skip ahead.
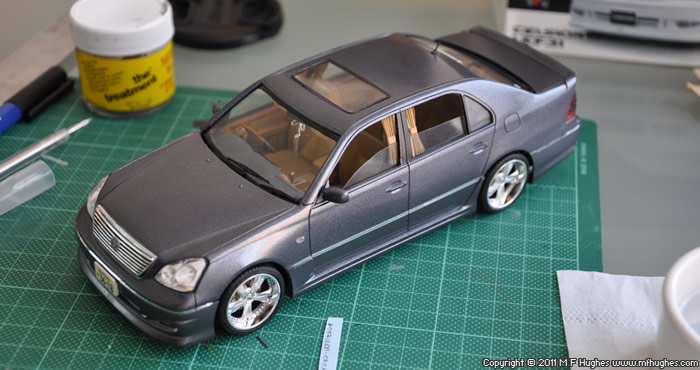
Gallery of completed Kit.
Part 5 : Completion
At this point, it is worth mentioning that the car did undergo some fitment testing part way through completion of body/chassis/interior.
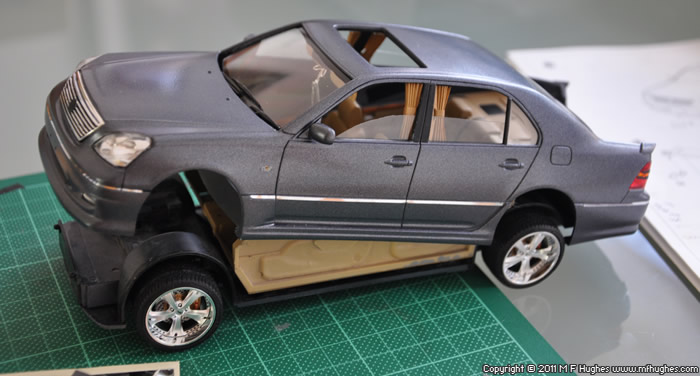
Aoshima's instructions say "mount the rear of the body first", but I'm not convinced that was the best way. After some struggle and levering with tweezers, it went on. At other fitment stages, I'd used "front first".
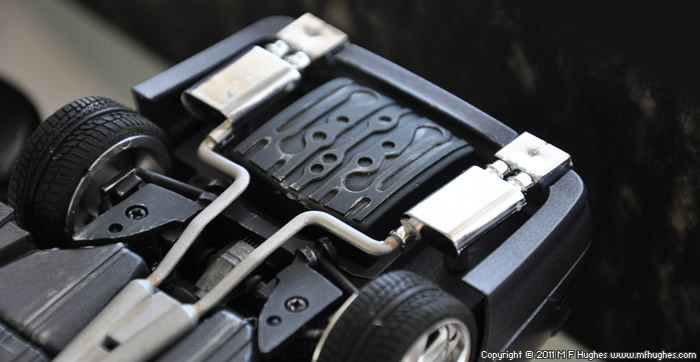
The chromed twin exhausts are superglued in place becasue the fitment betweent the main exhaust and the start of the back-boxes isn't especially tight.

After the boot is fitted (a tricky bit of manouevering) and the sunroof is fitted (after being lined around the edge with the Sharpie's thick end and fitted only by friction - no glue needed) the car is ready for the remaining decals.
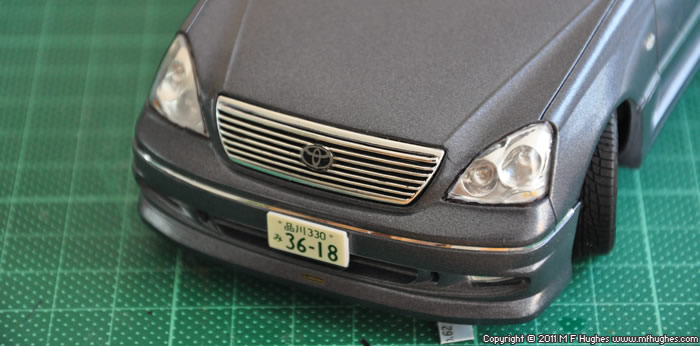
The front Toyota Emblem and number plate are fitted. The Kit also comes with black "admiration" number plates, but I prefer the JDM look.
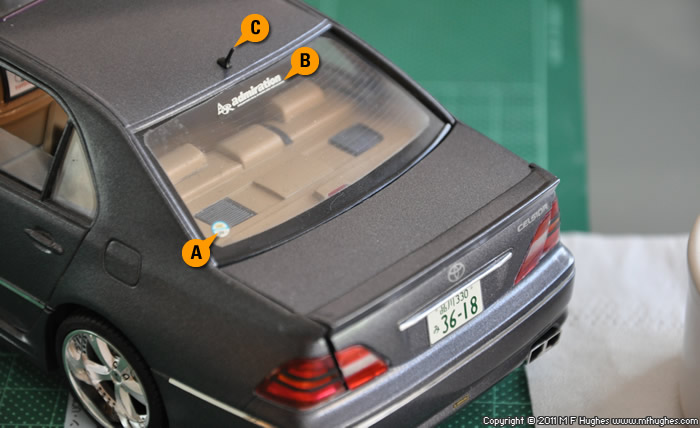
The rear window sticker (B), rear parking permit sticker (A) and rear number plate are applied. This also seems like a good time to glue the aerial in place (C). Note that even with the correct glass, the boot fitment isn't really that good.
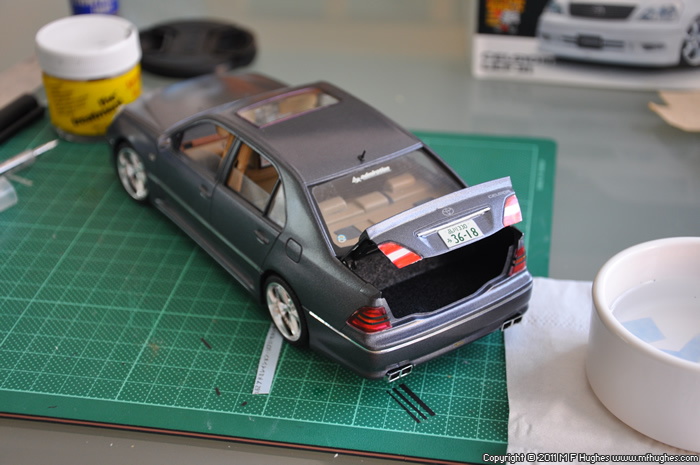
Although the boot looks just fine when it's up.
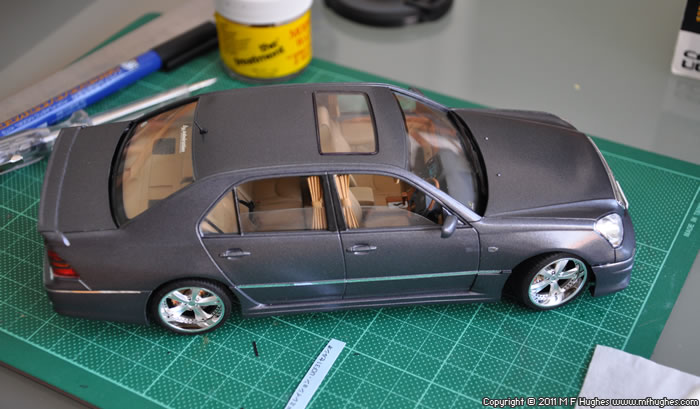
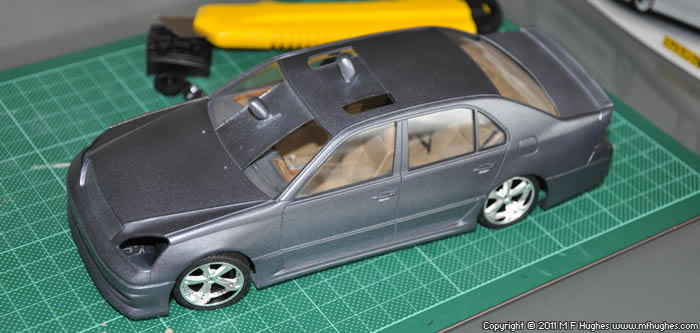
After about 3 months of on-off construction, the Aoshima Admiration Celsior is complete and ready for photography.If this were a lighter coloured model, I would fill in the panel lines using the 0.05 Uni Pin pen is used in the interior, however with this car, it is not necessary.
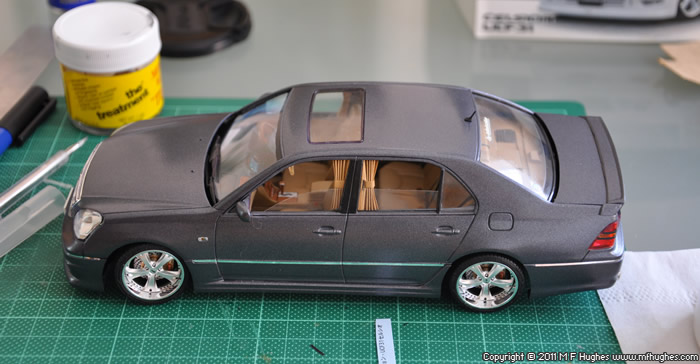
Another view of the completed car.
All content, text & graphics Copyright © M.F.Hughes 1995 - | Home | More Kits